What to Expect
Applying a floor coating can significantly enhance the durability, appearance, and functionality of your floors. Understanding the application process can help you know what to expect and ensure the best results. This guide outlines the typical steps involved in applying a floor coating.
Step 1: Surface Preparation
Cleaning the Surface
The first step in the process is thoroughly cleaning the floor to remove any dirt, dust, grease, or other contaminants. This ensures that the coating adheres properly to the surface. A clean surface is crucial for the bonding process, as any leftover debris or oil can prevent the coating from sticking effectively. This step often involves sweeping, vacuuming, and using industrial cleaners to ensure a pristine base.
Repairing Cracks and Imperfections
Any cracks, holes, or imperfections in the floor need to be repaired. This often involves filling in cracks with an appropriate filler and smoothing the surface. Ensuring a level and smooth surface is essential for the coating to adhere properly and to provide a flawless finish. This step not only enhances the appearance of the floor but also reinforces its structural integrity, preventing further damage.
Etching or Grinding the Surface
To ensure the coating adheres well, the floor is often etched or ground. Etching involves applying an acid solution to roughen the surface, while grinding uses a mechanical grinder to achieve a similar effect. This step creates a texture on the floor that enhances the bonding of the coating, ensuring longevity and durability. The choice between etching and grinding depends on the type of floor and the coating being applied.
Step 2: Priming the Floor
Applying the Primer
A primer is applied to the prepared surface. The primer helps the topcoat adhere better and enhances the durability of the coating. It penetrates the concrete, creating a strong bond. This layer acts as a bridge between the concrete and the top layers of coating, ensuring that the subsequent layers adhere effectively and last longer.
Allowing Primer to Cure
The primer needs time to cure before applying the topcoat. Curing times vary but typically range from a few hours to overnight. This curing period is critical as it allows the primer to set and create a solid foundation for the topcoat, ensuring that the final finish is smooth and durable.
Step 3: Applying the Floor Coating
Mixing the Coating
The floor coating is prepared according to the manufacturer’s instructions. This may involve mixing two or more components to activate the coating. Proper mixing is essential to ensure the coating’s performance, as improper ratios can lead to weak adhesion and reduced durability.
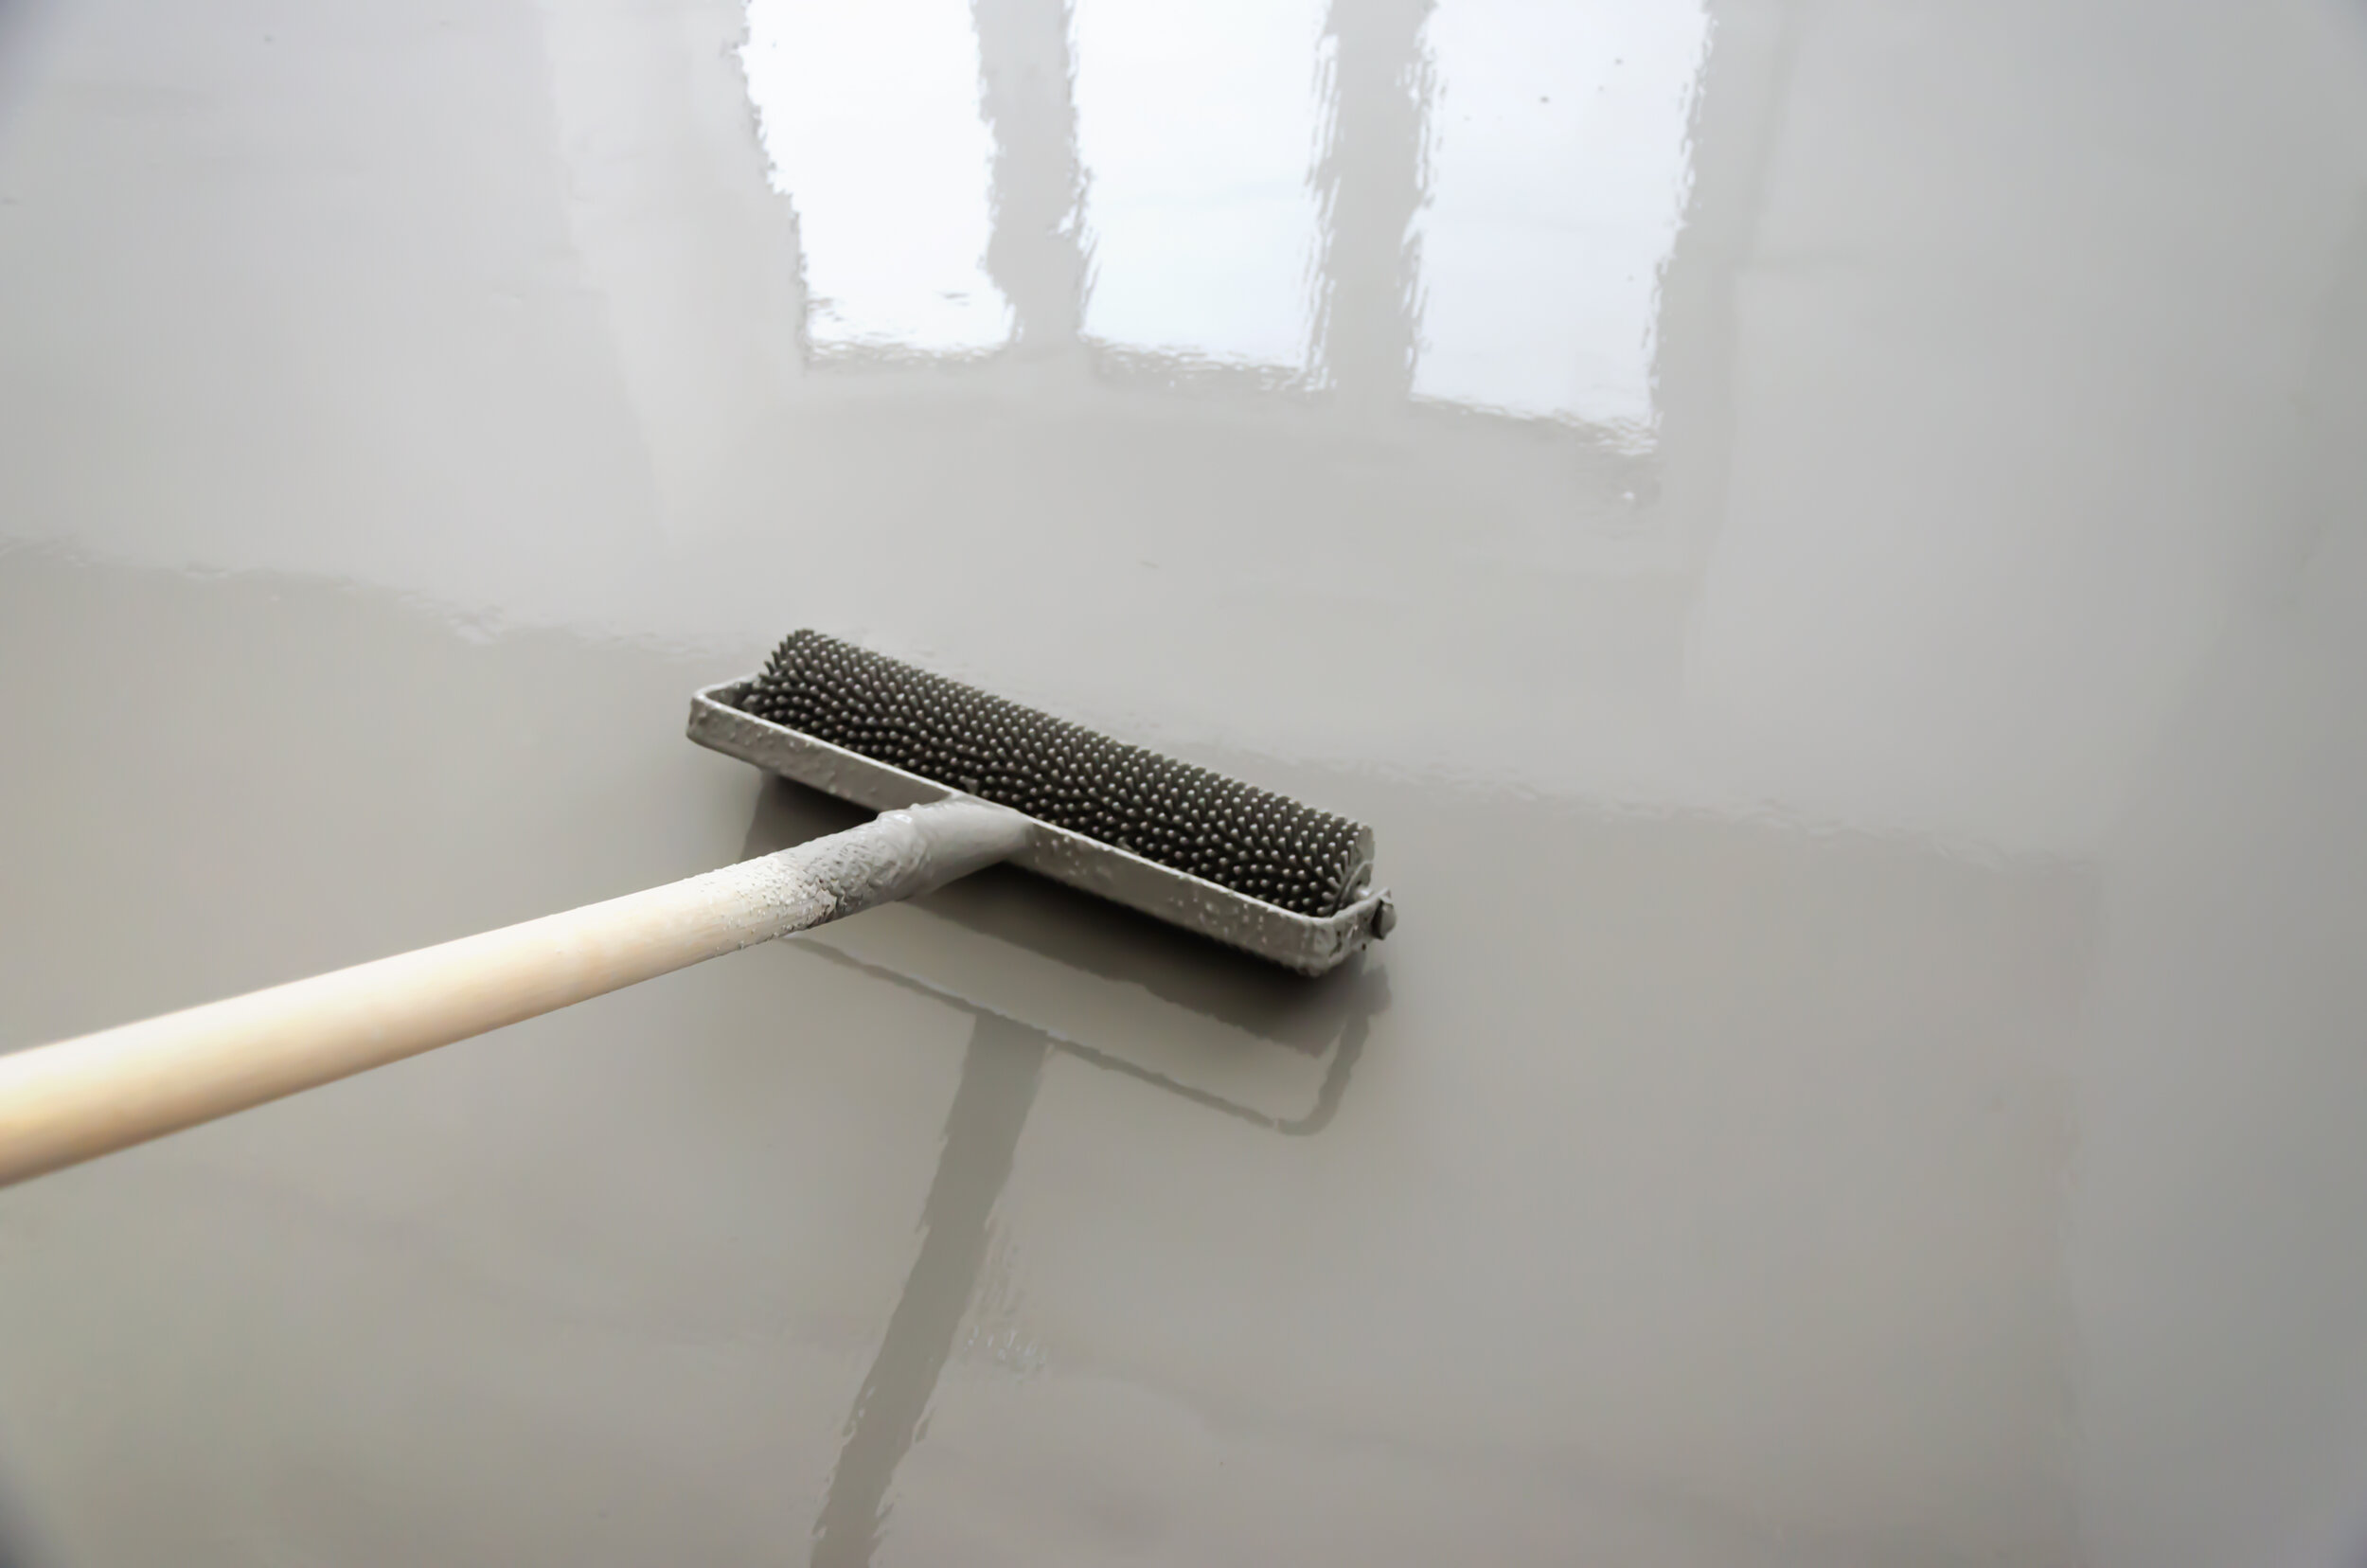
Applying the Base Coat
The first layer of the floor coating, known as the base coat, is applied using rollers or squeegees. It’s important to apply the coating evenly to avoid bubbles and ensure a smooth finish. This layer forms the primary protective barrier and sets the stage for additional layers or decorative elements.
Adding Decorative Elements (Optional)
If desired, decorative flakes or metallic pigments can be added to the base coat while it is still wet. This step adds aesthetic appeal and customization to the floor. These elements can create unique, eye-catching designs, enhancing the overall look of the space and allowing for personalization to match specific tastes or branding.
Allowing the Base Coat to Cure
The base coat needs time to cure before applying additional layers. The curing time depends on the type of coating used and the environmental conditions. Proper curing ensures that the base coat is fully set and ready to support additional layers without any issues.
Step 4: Applying the Topcoat
Applying the Topcoat
Once the base coat has cured, the topcoat is applied. The topcoat adds an extra layer of protection and gives the floor a glossy, finished look. This final layer is crucial for durability and aesthetics, providing a polished appearance and protecting the underlying layers from wear and tear.
Ensuring Proper Coverage
It’s important to ensure that the topcoat covers the entire floor evenly. This step may require careful application to avoid streaks or uneven areas. Proper coverage ensures that the floor looks professional and provides maximum protection against damage.
Allowing the Topcoat to Cure
The topcoat must cure completely before the floor can be used. Depending on the type of coating, this can take anywhere from a few hours to several days. Full curing ensures that the floor can withstand traffic and use without any issues, providing a long-lasting finish.
Frequently Asked Questions (FAQs)
How long does the entire floor coating process take?
The time required for the floor coating process can vary depending on the size of the area, the type of coating used, and environmental conditions. Generally, the process can take anywhere from two to five days. This timeframe includes surface preparation, application of various layers, and curing times.
Can I stay in my home during the floor coating process?
It’s best to avoid the area being coated to allow for proper curing and to prevent any disruptions. Some coatings can emit strong odors, so staying elsewhere during the application may be more comfortable. Ensuring a well-ventilated area can also help in mitigating strong smells during the process.
How do I prepare my space for a floor coating application?
Clear the area of all furniture, equipment, and personal items. Ensure the floor is clean and accessible for the technicians. Address any potential dust or debris sources to maintain a clean work environment. Preparing the space properly can help in achieving a smooth and efficient coating process.
How long before I can use my floor after coating?
Curing times vary, but generally, you can walk on the floor within 24-48 hours. For heavy use or placing furniture, it’s best to wait up to a week to ensure the coating has fully cured. Patience during this period ensures the coating sets properly and provides the best long-term results.
What maintenance is required for a newly coated floor?
Maintaining a coated floor is straightforward. Regular sweeping or vacuuming, combined with occasional mopping using a mild detergent, will keep the floor looking its best. Avoid using harsh chemicals or abrasive cleaners. Proper maintenance extends the life of the coating and keeps the floor in pristine condition.
Applying a floor coating involves a detailed process that ensures your floors are durable, aesthetically pleasing, and functional. By understanding each step, from surface preparation to the final curing, you can appreciate the care and precision that goes into creating a high-quality floor finish.