


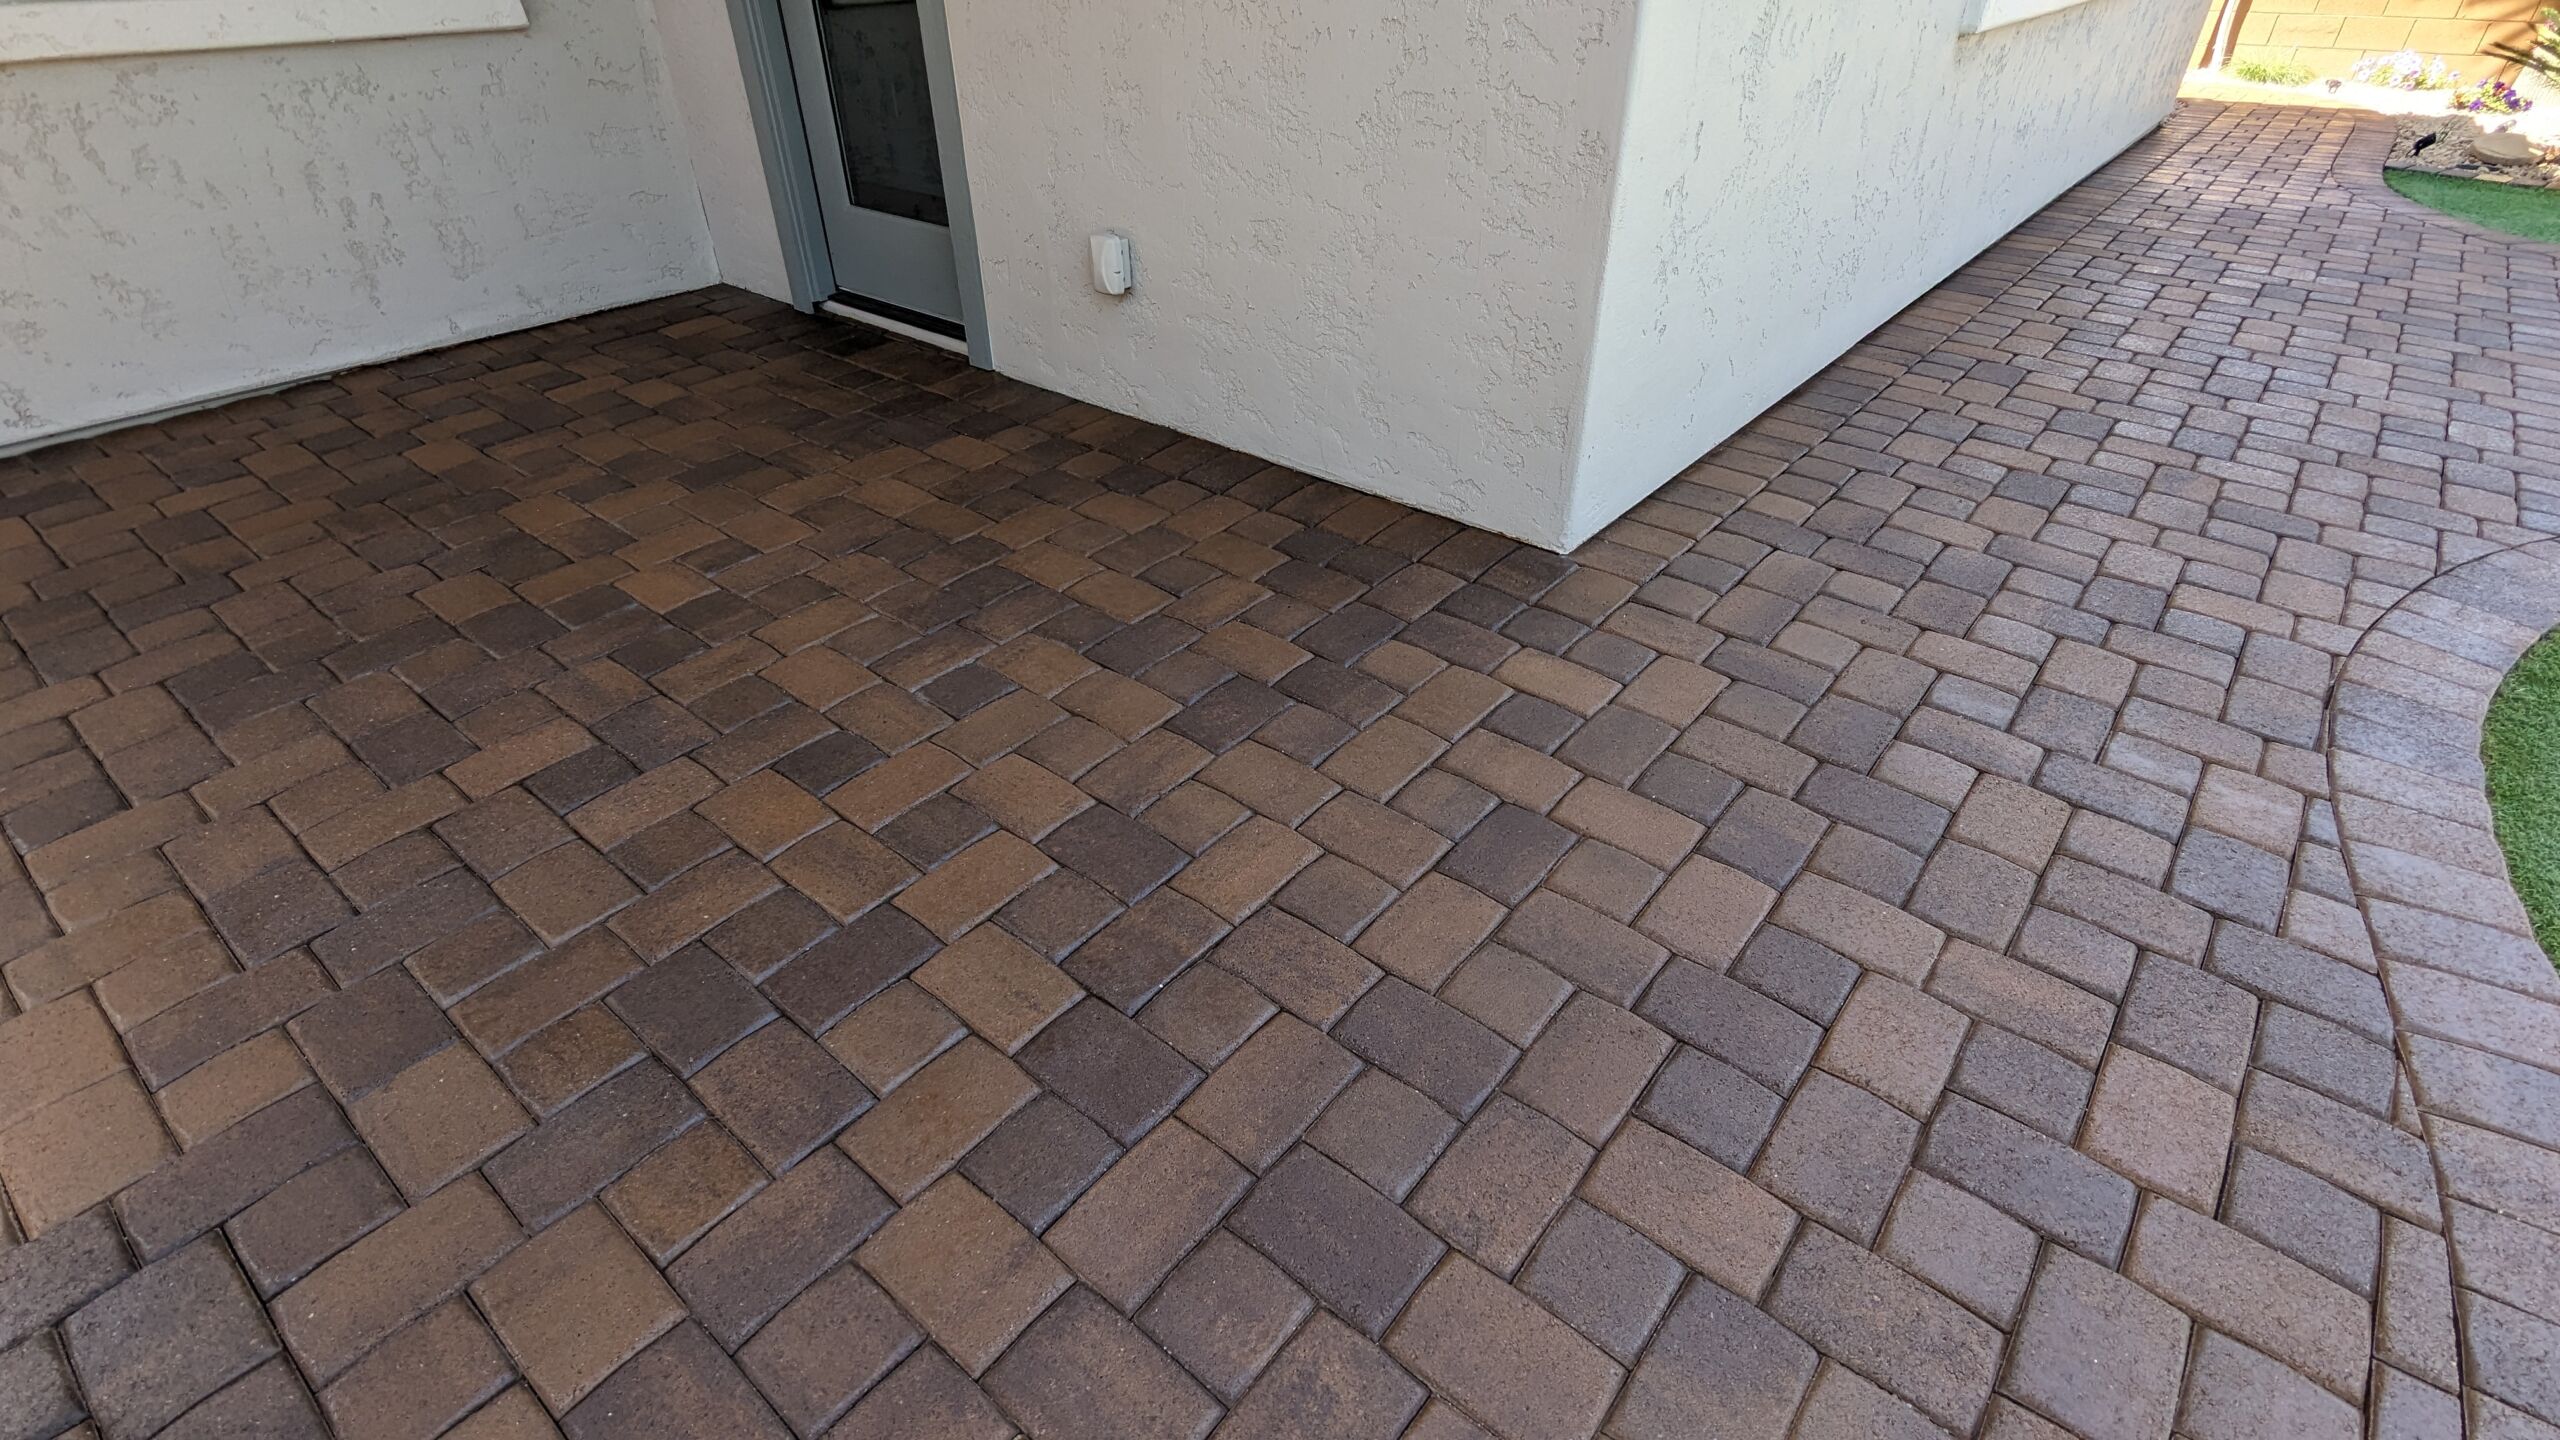
Stone tiles lend timeless elegance, resilience, and natural beauty to a variety of spaces—from luxurious bathrooms to rustic kitchens. However, their inherent porosity leaves them vulnerable to stains, moisture damage, and wear. Sealing stone tiles is a crucial step to preserving their aesthetic appeal and structural integrity. Whether dealing with stone countertops, shower walls, or veneer features, the right sealing techniques can make a world of difference.
Why Sealing Stone Tiles is Essential
Natural stone tiles—such as marble, travertine, slate, granite, and limestone—contain microscopic pores. These pores can absorb liquids, harbor contaminants, and accumulate grime. Sealing creates a protective layer that defends against damage while maintaining the stone’s inherent charm.
1. Stain Resistance
Kitchens and bathrooms are prime locations for spills. From red wine and coffee to oils and soap scum, unsealed stone readily absorbs these substances. A quality sealer blocks stains before they penetrate the stone, keeping surfaces pristine.
2. Moisture Protection
In showers and other high-moisture environments, water infiltration can cause mildew, mold, and deterioration. Sealing repels moisture, preventing it from seeping into the stone and compromising its structure.
3. Longevity and Durability
Sealing enhances the stone’s durability by minimizing damage from scratches, impacts, and environmental exposure. This prolongs the life of stone surfaces and reduces the need for costly repairs.
4. Ease of Maintenance
Sealed stone is much easier to clean. Dirt, spills, and grime remain on the surface rather than being absorbed, simplifying maintenance and preserving the stone’s natural beauty.
5. Enhanced Aesthetics
Sealers can enrich the natural hues and veining of the stone, giving it a vibrant and polished appearance. Enhancing sealers, in particular, deepen colors and provide a subtle sheen.
Sealing Stone Tiles: Step-by-Step Techniques
Proper sealing involves more than just applying a product; it requires careful preparation and attention to detail. Follow these steps to ensure effective protection.
1. Clean the Surface Thoroughly
- Remove Debris: Sweep or vacuum the tiles to eliminate dust and loose particles.
- Deep Clean: Use a pH-neutral stone cleaner to remove stains, grease, and residues. Avoid acidic or abrasive cleaners, which can damage the stone.
- Dry Completely: Allow the stone to dry for at least 24 hours before sealing. Moisture trapped beneath the sealer can affect adhesion and performance.
2. Choose the Right Sealer
Different types of stone and applications require specific sealers:
- Penetrating Sealers: Ideal for high-traffic areas, kitchens, and showers. They absorb into the pores, offering protection without altering the appearance.
- Topical Sealers: Create a protective film on the surface. Best for low-traffic areas and decorative applications.
- Enhancing Sealers: Deepen colors and highlight natural patterns, perfect for bringing out the character of textured stones like slate or travertine.
3. Apply the Sealer
- Test First: Apply the sealer to a small, inconspicuous area to ensure compatibility and desired results.
- Even Application: Use a brush, roller, or microfiber cloth to apply the sealer evenly. Work in small sections, ensuring full coverage.
- Allow Penetration: Let the sealer soak in for 10-15 minutes. For highly porous stones, a second coat may be necessary.
- Wipe Off Excess: Remove any excess sealer with a clean, dry cloth to prevent streaks or a sticky residue.
- Curing Time: Allow the sealer to cure for 24 to 72 hours before use, depending on the product instructions.
Sealing Specific Applications
1. Sealing Stone Veneer
Stone veneer, used for fireplaces, accent walls, and exterior facades, benefits significantly from sealing. It prevents water damage, efflorescence (salt deposits), and weathering. Choose a breathable, penetrating sealer to maintain the veneer’s natural look.
2. Sealing Stone Countertops
In kitchens and bathrooms, countertops are subjected to constant spills and potential stains. Sealing granite or marble countertops provides a robust barrier against liquids and contaminants. Opt for a food-safe, penetrating sealer that offers long-lasting protection.
3. Sealing Natural Stone Tile Showers
Showers are a high-moisture environment where mold and mildew thrive. Sealing stone tiles in the shower helps repel water and soap scum, making cleaning easier. Reapply sealer annually to maintain maximum protection.
4. Sealing Stone Tile Before Grouting
Sealing stone tiles before grouting is a critical step to prevent grout haze and staining. Apply a light coat of penetrating sealer before installation to protect the tiles. After grouting and curing, apply a final coat for complete protection.
Natural Stone Shower Cleaning and Sealing Tips
- Use a Squeegee: After each use, squeegee the walls to reduce water spots and soap scum buildup.
- Weekly Cleaning: Use a pH-neutral cleaner to prevent residue accumulation.
- Reapply Sealer Annually: Due to constant exposure to moisture, shower tiles need yearly resealing to maintain protection.
Benefits of Sealing Stone Tiles Beyond Protection
- UV Resistance: Some sealers include UV inhibitors that protect outdoor stone tiles from fading and discoloration in direct sunlight.
- Slip Resistance: Certain sealers add a subtle texture to tiles, reducing slipperiness in wet areas like bathrooms or pool decks.
- Enhanced Color and Veining: Enhancing sealers deepen the natural tones and patterns of stone, making tiles look more vibrant and luxurious.
- Reduced Cleaning Effort: Sealed surfaces are easier to wipe down, preventing dirt and grime from penetrating pores and accumulating over time.
Stone Tile Sealer Comparison Table
Common Mistakes to Avoid When Sealing Stone Tiles
- Sealing Over Dirty Surfaces: Residual dirt or grease prevents proper adhesion. Always clean and dry the tiles thoroughly.
- Applying Too Much Sealer: Excess sealer can leave a sticky residue or haze. Apply thin, even coats and wipe off any excess.
- Ignoring Curing Times: Using tiles too soon after sealing can compromise protection. Always follow the manufacturer’s recommended curing period.
- Using the Wrong Sealer: Not all sealers are compatible with all stone types. Match the sealer to the specific stone for optimal protection.
- Neglecting Reapplication: Sealers wear over time. Inspect surfaces annually and reapply as needed to maintain performance.
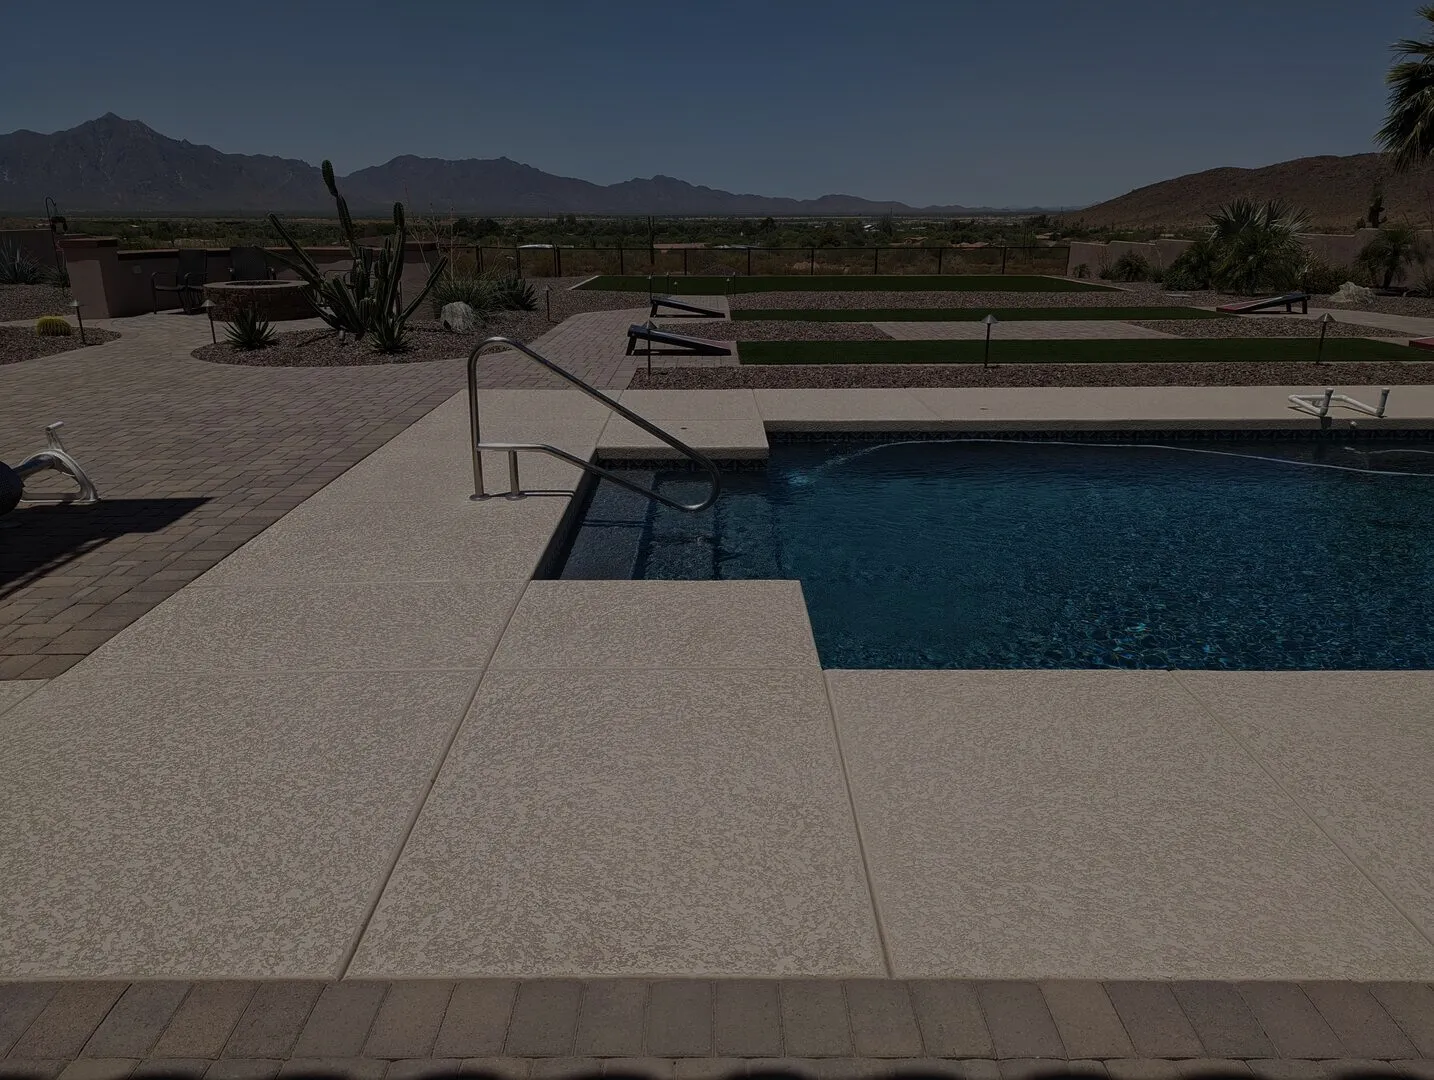
Sealing Stone Tiles in Outdoor Spaces
- Prevents water infiltration that could lead to cracking or erosion.
- Minimizes moss, mold, and mildew growth on patios or walkways.
- Enhances color and maintains a fresh appearance despite harsh environmental conditions.
DIY vs Professional Sealing
DIY Sealing:
- Pros: Lower upfront cost, flexible schedule, sense of accomplishment.
- Cons: Risk of uneven coverage, incorrect sealer choice, shorter longevity.
Professional Sealing:
- Pros: High-quality application, proper sealer selection, uniform coverage, longer-lasting protection.
- Cons: Higher upfront cost.
Maintenance Tips for Sealed Stone Tiles
- Regular Cleaning: Sweep or mop tiles to remove dirt and prevent scratches.
- Avoid Acidic Cleaners: Lemon, vinegar, or bleach can degrade sealer and damage stone.
- Wipe Spills Immediately: Even sealed surfaces benefit from prompt attention to prevent stains.
- Use Rugs or Mats: High-traffic areas benefit from protective mats to reduce wear.
- Inspect Annually: Reapply sealer every 2–5 years depending on stone type, usage, and exposure.
Frequently Asked Questions About Sealing Stone Tiles
Does Stone Tile Need to be Sealed?
Yes, natural stone tiles are porous and require sealing to protect against stains, moisture, and damage.
What to Seal Stone Tiles With?
Use a penetrating or topical sealer designed specifically for natural stone, depending on the application.
What Kind of Sealer Do You Use for Natural Stone?
For high-traffic or moisture-prone areas, a penetrating sealer is best. For decorative applications, a topical or enhancing sealer may be suitable.
How Do You Seal Stones?
Clean the stone thoroughly, let it dry, apply the sealer evenly, allow penetration, wipe off excess, and let it cure.
Sealing Stone Tile vs. Leaving It Unsealed
Sealing Stone Tile
Pros:
- Protection: Prevents stains, moisture damage, and wear.
- Enhanced Beauty: Maintains color and texture.
- Longevity: Extends the lifespan of stone surfaces.
Cons:
- Maintenance: Requires periodic reapplication.
- Cost: Initial investment in quality sealer and application.
Leaving It Unsealed
Pros:
- Natural Look: Maintains the raw, untreated appearance.
- No Initial Cost: No expense for sealing products or labor.
Cons:
- Vulnerability: Prone to stains, moisture damage, and etching.
- High Maintenance: Difficult to clean and repair once damage occurs.
Which is Better?
Sealing is the clear winner for anyone looking to protect their investment, reduce maintenance, and enhance the durability of stone tiles. Leaving stone unsealed may work for low-traffic, decorative areas but is risky for functional surfaces like kitchens, bathrooms, and outdoor spaces.
Sealing stone tiles is an essential practice for preserving their beauty, functionality, and longevity. From countertops and showers to stone veneers, the right sealing technique shields your surfaces from the rigors of everyday life. By investing in high-quality sealers and adhering to proper maintenance, you ensure that your stone surfaces remain as stunning and durable as the day they were installed. In the world of natural stone, protection is the key to lasting elegance.